Product Demonstration & Consultation
How to demo LipSense
Run a LipSense demonstration as one arc: one promise at the start, fresh tools she can see, the color setting in front of her, the Gloss reveal, and one clear decision at the end.
Plan the LipSense Demo: Color, Finish, Decision
A demonstration that wanders is a demonstration nobody buys from.
Give it one arc and say the arc out loud before you open anything: we are going to find your color, watch it set, and finish it with Gloss. Three beats, and she knows where she is in all of them.
Everything you stage should serve that sentence. LipSense® Long-Lasting Liquid Lip Color, the compatible Moisturizing Gloss, Ooops! Remover, and fresh disposables, laid out in the order you will reach for them.
She should leave able to name what went on her lips and say it back in the right order. That is the whole test.
how to use it
Say the arc, then get her agreement before anything touches her lips. Stage Color, Gloss, remover and disposables in the order you will use them, and narrate only the decision in front of you — hue now, set film next, finish last. Keep the mirror face down until there is something worth seeing.
One Applicator, One Pass, Then the Waste Cup
Watch a good demonstration closely and the thing you notice is what never happens: nothing that has touched a lip ever goes back in the tube.
Set the station where she can see it. Sanitized hands, a covered LipSense tester, a stack of fresh single-use applicators, a clean palette, a waste cup in plain view. For every liquid layer: dip once, apply once, discard. Then reach for a fresh applicator and do it again.
None of that is hidden housekeeping. She is watching you protect her, and she can tell the difference between a kit that is cared for and one that is not.
how to use it
Set the station before she sits, and check the tester rules that apply where you work. Never return a client-contact tool to the tester: re-entry can carry contamination back into a shared container and reverses the one-way product flow. Keep the clean palette, the unused tools and the waste cup physically apart so that protected path stays visible without you narrating it.
the science
Wiping is not decontamination. A wipe removes bulk product; it cannot undo transfer that may already have entered a shared tester. Disposal breaks that route. Every liquid layer therefore gets a fresh applicator; the tools follow the application rather than an expense target.
Explain Brief LipSense Tingle and Stop if Discomfort Persists
The first time a client feels LipSense set, she will want to know whether that is supposed to happen.
Tell her before it does. LipSense goes on wet and sets fast; Alcohol Denat., the volatile carrier on the current label, flashes off as the color dries, and a brief tingle can come with it. Dry or unconditioned lips may notice that sensation more. A brief sensation should fade as the color sets.
What is not part of it: discomfort that keeps going, or keeps growing. Nobody gets talked through that. You remove the color and end the demo, and she trusts you more for it, not less.
how to use it
Look at the lips before anything goes on: cracked, split or compromised lips mean you reschedule rather than proceed. Say it plainly first — “you may feel a light tingle while the color sets.” Keep Ooops! Remover and a tissue within reach so stopping costs nothing. If she says it is getting worse, stop the application and remove the product.
the science
Sensation intensity is not a wear or performance measurement. A brief sensation can accompany Alcohol Denat. evaporation and may be more noticeable on dry or unconditioned lips, but its strength does not predict how the color will wear. Read the safety cue instead: brief and fading can accompany setting; persistent or escalating discomfort means stop and remove the product.
Show LipSense Color Changing From Wet Liquid to an Even, Set Film
There is a moment in every LipSense application when the color stops moving, and a client looking at her phone will miss it.
Point at it. Wet color is mobile and a little glossy. Then the surface goes even and matte, and nothing shifts when she parts her lips. That is the layer finishing. Hold the mirror there and ask her to describe what she sees: evenness first, hue second.
One visible change, named out loud. It is the most convincing thing in the appointment, and it costs you nothing but the pause.
how to use it
Use a fresh applicator for every pass and narrate one shift only: mobile color becomes an even set surface with no wet patches. Keep product, shade, lighting and placement constant so wet-versus-set is the only comparison she is making. Send her home with How Does LipSense Work? for the full sequence.
Apply LipSense Moisturizing Gloss to Reveal Slip, Shine, and Finish
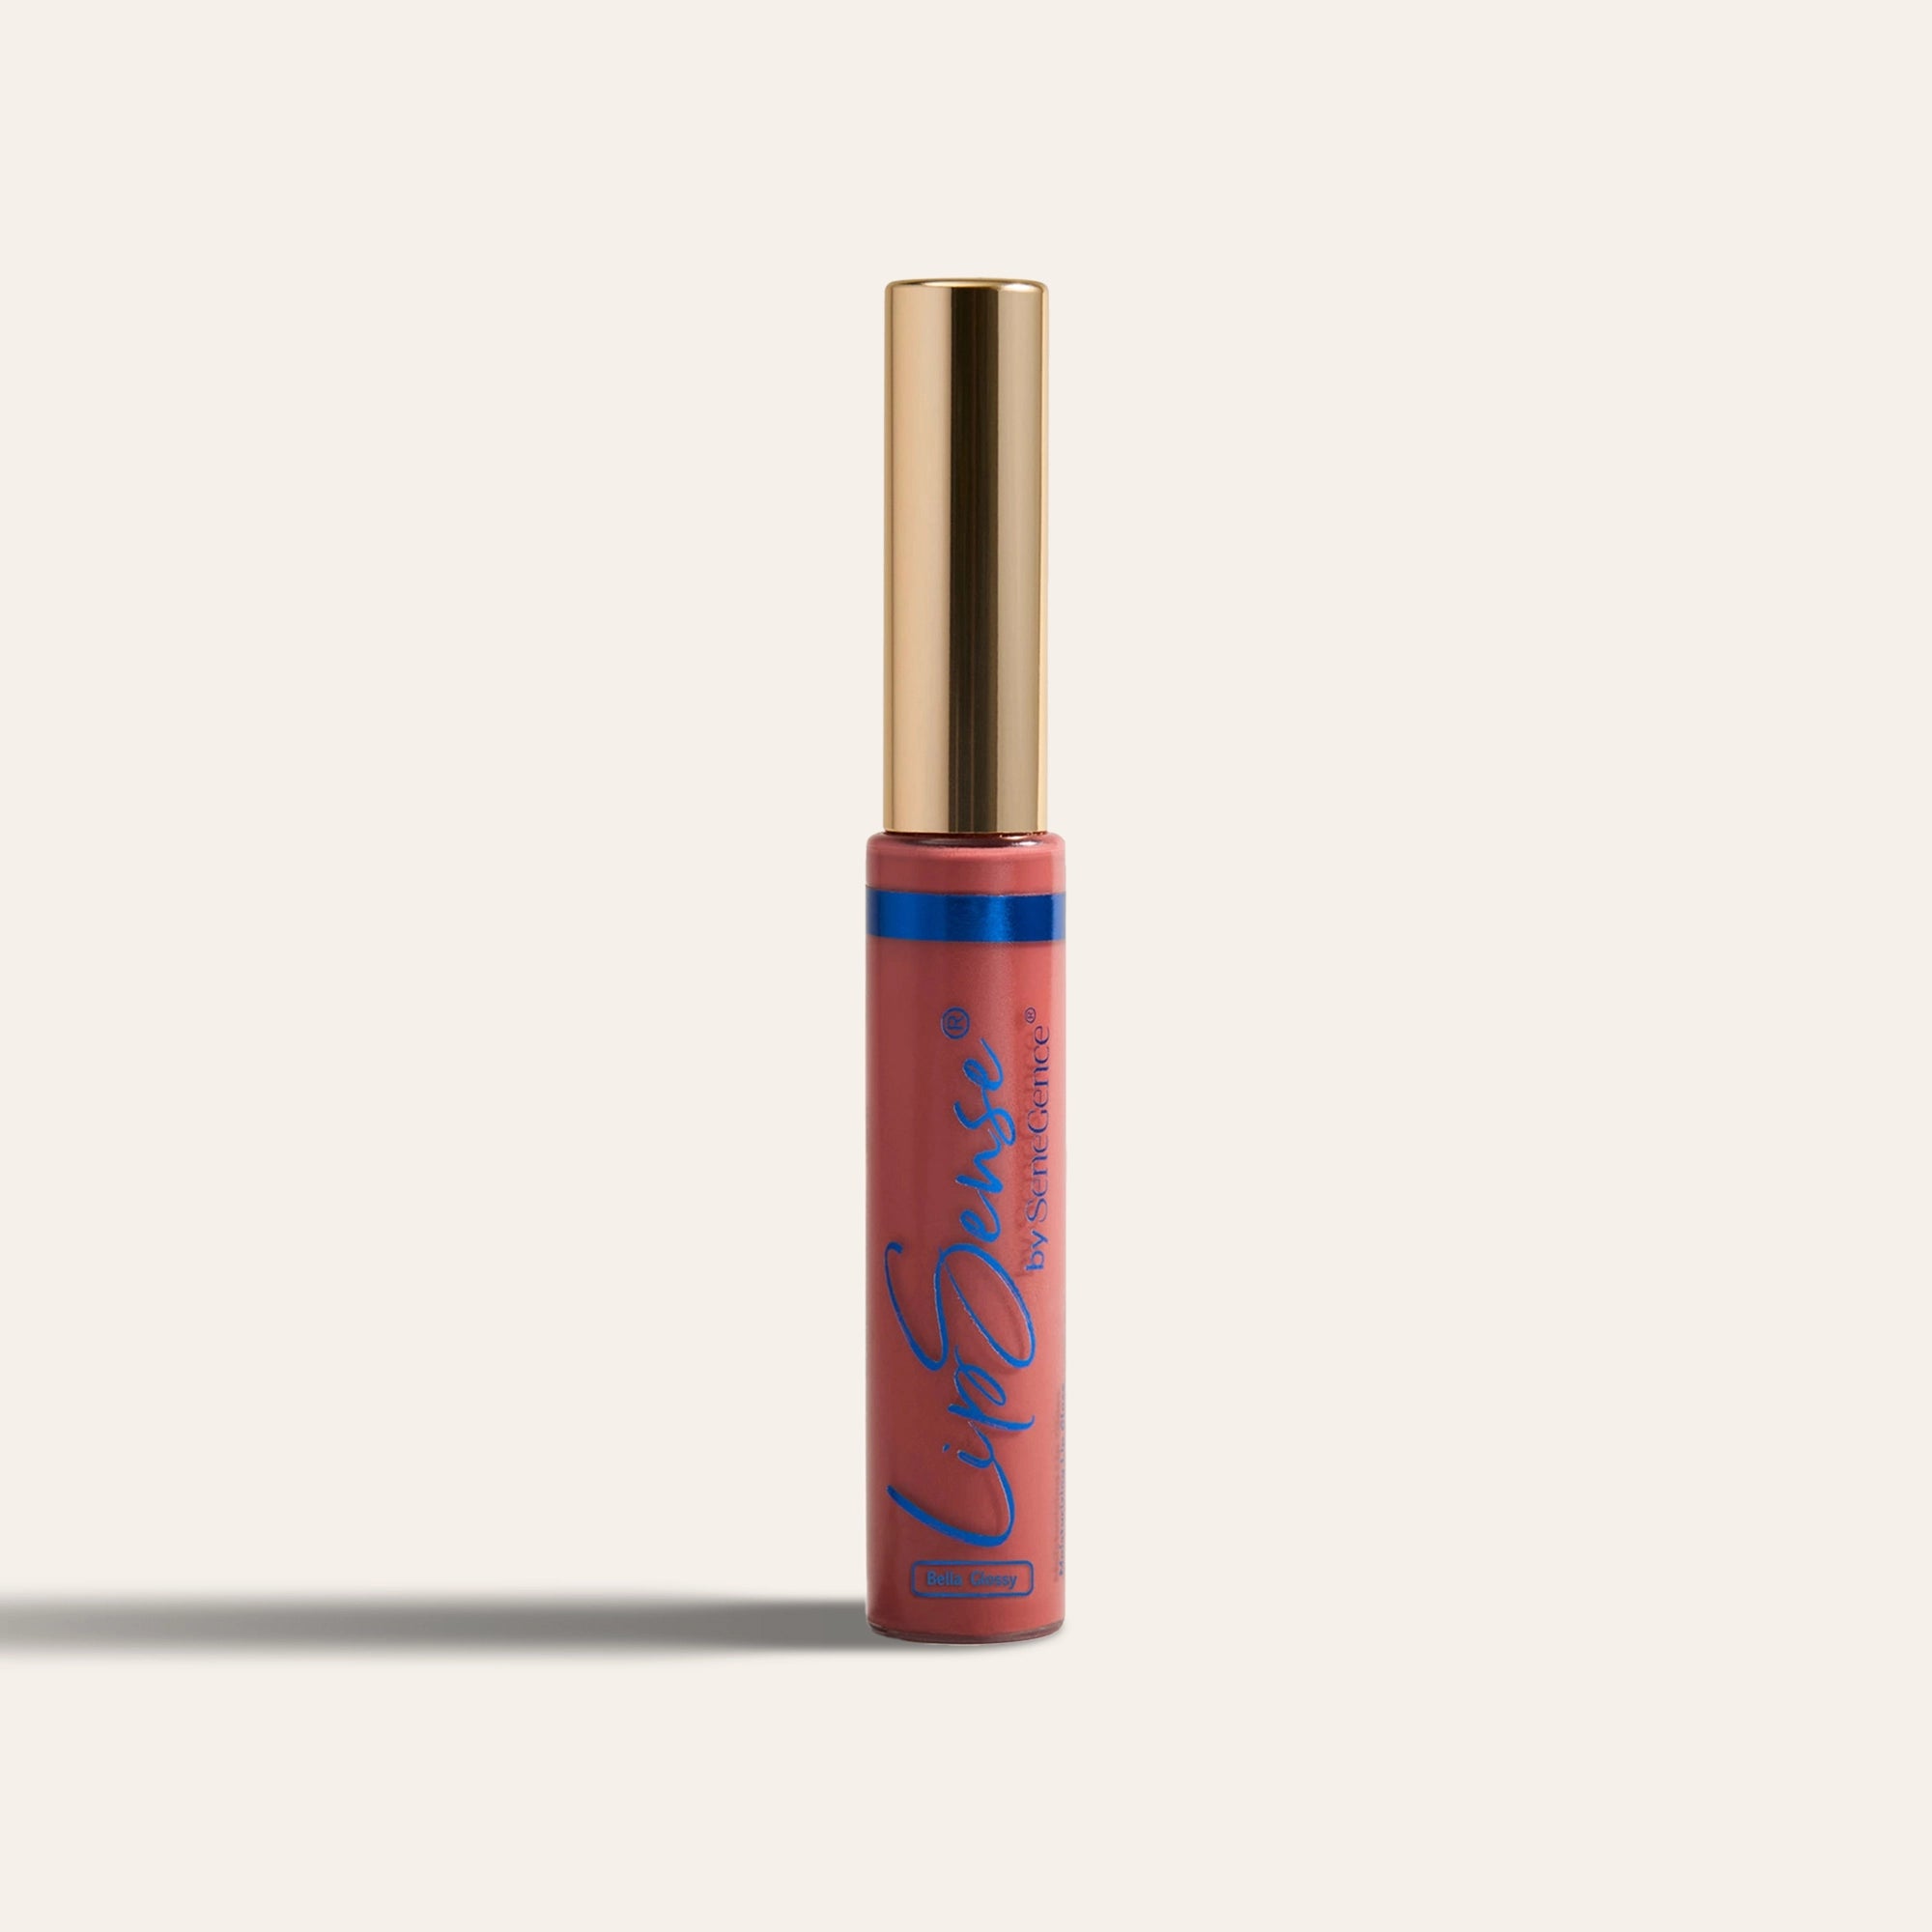
Let her look at the unglossed lip first. Matte, even, finished-looking — and she will assume that is the whole thing.
Then Moisturizing Gloss, one pass with a fresh tool, and the mirror comes back up. Light comes off the surface differently, and the lip feels different to her own mouth. That is the moment people book from.
Ask what she prefers before you name a shade: this Gloss, a different tint, more sheen or less. The finish she chooses is the recommendation.
how to use it
Let the last color layer set completely before Gloss touches it, and pause with the mirror down so the unglossed surface registers first. Apply with a fresh tool, raise the mirror, then stay quiet. Offer the alternatives only after she has reacted: another compatible tint, a higher sheen, or two Glosses blended.
End a LipSense Demo With One Color-and-Gloss Decision
The end of a demonstration is where most of the work gets thrown away.
Close it with one question rather than a pitch: would you like this Color and Gloss, or the one beside it to compare? Start with that focused pair so the difference is easy to see. If neither fits, use what she tells you to choose the next meaningful comparison.
A yes moves to checkout. If she says not today, ask whether she would welcome a message later or prefer to choose a date.
Either way, write down the exact shades, order, and Gloss before she leaves so she can recreate the look and you can find it again.
how to use it
Ask the two-option question, then stop talking. If she is undecided, ask whether she would prefer a message or a date, whichever she names, and end the appointment there. Send her the shades, layer order, and Gloss in a written LipSense formula she can keep. After a LipSense demo, use LipSense Ooops! Lip Color Remover when the client wants the look taken off or a touch-up cleaned.
the science
A focused pair turns the close into a visible comparison rather than an open-kit search. Start with the two-option question, listen for what she likes or rejects, and change the comparison if neither fits. The pair she considered is worth writing down alongside the winner, because the next appointment can start from a known preference rather than an open kit.