Pairings & Routines
How to Layer SeneGence Foundation and Cream Makeup
Choose the BlushSense effect first: place it before MakeSense Foundation for a subtle under-blushed look or after foundation for a brighter pop, then finish eye color, light, and powder in their own zones.
Apply MakeSense Foundation From the Center Out and Stop at Even Coverage
Most foundation regrets are not shade regrets. They are one-coat-too-many regrets.
MakeSense Foundation goes on from the center of the face outward and thin, because the center is where tone is least even and the edges need the least help. Then look at your jaw and your neck in daylight and fix only the zone that is still off.
Matched tone, skin that still reads as skin, nothing added where nothing was needed.
how to use it
After the Mechanical Shield prep, confirm the MakeSense Foundation shade at jaw and neck. Work a thin layer from the center outward, then inspect nose, brows, hairline, jaw and neck in natural light. Correct only the remaining zone instead of adding a second full layer, and record the shade and amount before you continue the service.
the science
MakeSense Foundation is the pigment-bearing complexion film: water-resistant film-forming polymers carry Adapting Pigment Technology, which shifts toward the undertone it is spread on, and SenePlex+ is part of the formula. Apply a thin pass from the center outward, then let visible evenness at the jaw and neck in daylight decide what still needs correction. Undertone adaptation explains shade behavior during application; it does not establish that the first pass supplied enough coverage. Add product only where the observed finish calls for it so the film stays light.
Choose BlushSense Before or After Foundation
Two placements. Two completely different cheeks.
BlushSense under MakeSense Foundation gets pressed down into a flush that looks like it came from underneath. BlushSense over foundation keeps its full contrast and reads as a deliberate pop.
Decide which one you want first. The order is the decision, not the shade.
how to use it
Use one branch:
Work one cheek at a time, compare both sides, and build only where balance asks for it. If color catches, use less product and a fresh tool surface rather than rubbing a setting film.
the science
Cream-to-set textures lose mobility as volatile and film-forming components settle. Early blending distributes pigment; late shear disturbs the layer below or leaves a hard boundary. Foundation over BlushSense lowers local contrast; BlushSense over foundation preserves hue and value contrast. Small-zone placement respects the working window either way.
Place BlushSense for the face shape
Where the color lands changes the shape of the face.
On the apples, BlushSense reads as a fresh flush. Higher on the cheek, toward the temple, the same shade reads as lift. Keep the saturation at one focal point and let the edge fade into nothing.
Then look from the front and from the side. A cheek that balances head-on can sit crooked in profile.
how to use it
With the complexion order chosen, place BlushSense for the face shape: apples for a visible flush, upper cheek for lift. Tap with a clean tool, hold saturation at the focal point, graduate the edge. Check both cheeks from the front and in profile, then stop when height, intensity and edge balance match the brief.
the science
BlushSense pairs SenePlex+ with Sodium Hyaluronate, which draws water to the cheek. Concentrated pigment sets the focal point; a graduated edge removes the patch-like contrast that makes placement look applied. Apple placement centers the color field, upper-cheek placement shifts it up, and neither changes the formula.
Apply and Blend ShadowSense Only on the Eye Area
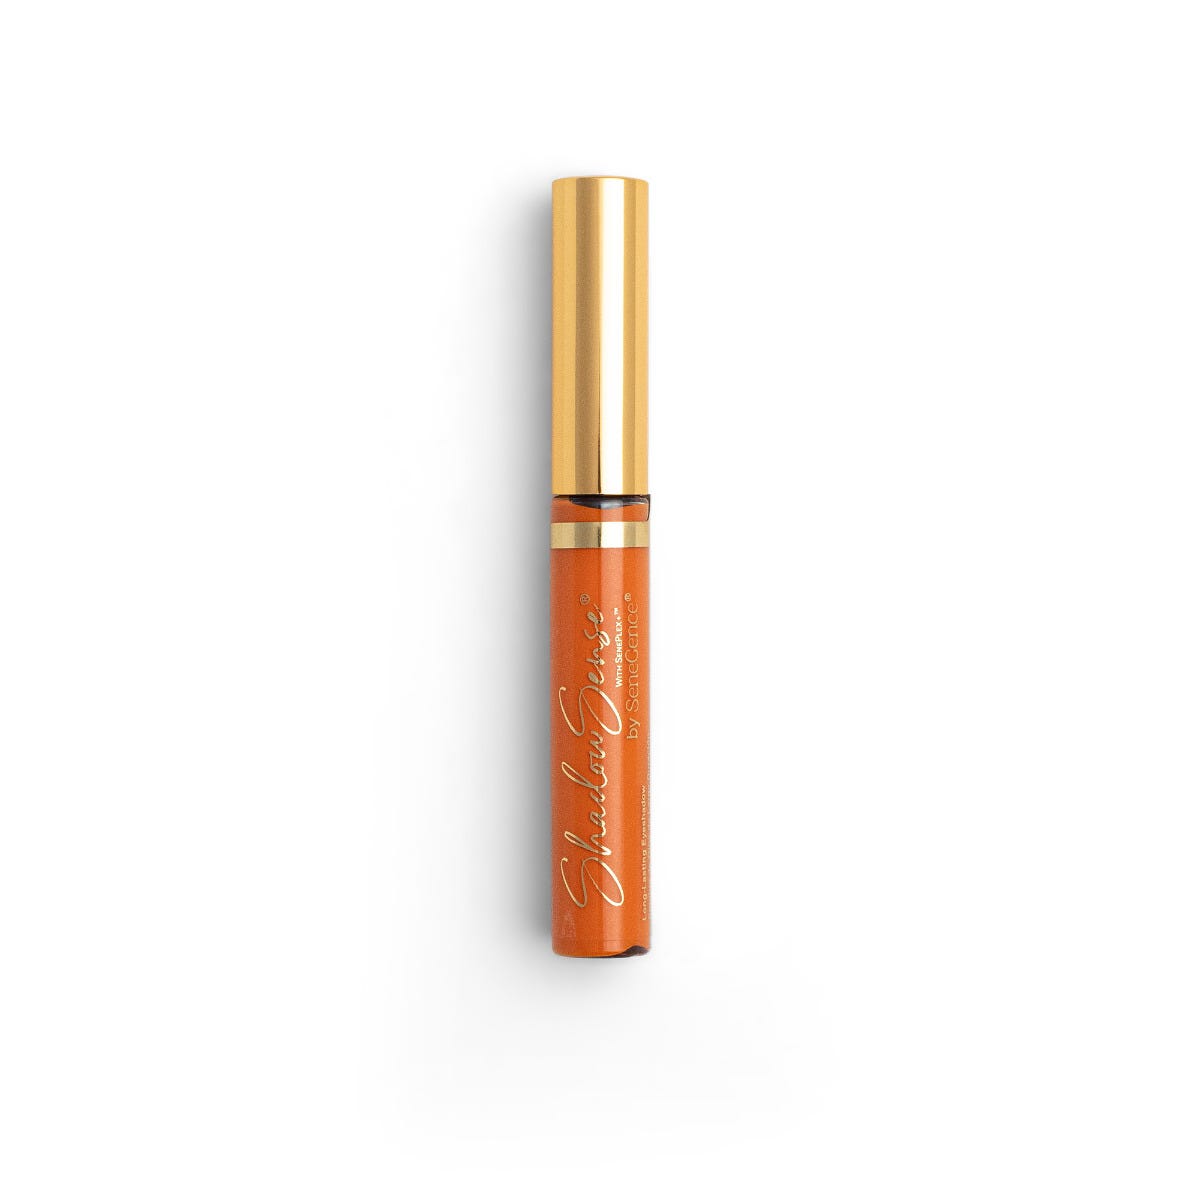
ShadowSense brings cream color to the eye with one rule that decides how it looks: blend it while it still moves.
Map one zone, lay a thin pass, soften or shape it, then move to the next. Depth comes after the first placement is even, never instead of it.
Once the film sets, leave it alone. It is finished before you think it is.
how to use it
Map one eye zone, apply a thin ShadowSense pass, then soften or shape it before moving on. Use less product over mobile lids and build depth only after the first placement is even. Compare eye height and edge direction before the formula sets, then leave the finished film undisturbed.
the science
ShadowSense is a cream-to-powder system built on Isododecane, the volatile carrier that keeps it workable, and Trimethylsiloxysilicate, the resin that cross-links into a flexible film as the carrier leaves. SenePlex+ rides underneath with the current formula's Orchid Flower Extract, Laminaria Saccharina (Kelp) Extract, Yeast Extract, Glucosamine HCl and Tocopheryl Acetate. The lid moves constantly, so film thickness matters: a thin application limits accumulation at the folds, and prompt blending distributes pigment while mobility is still high.
Use MakeSense Pearlizer for Targeted Highlight or All-Over Radiance
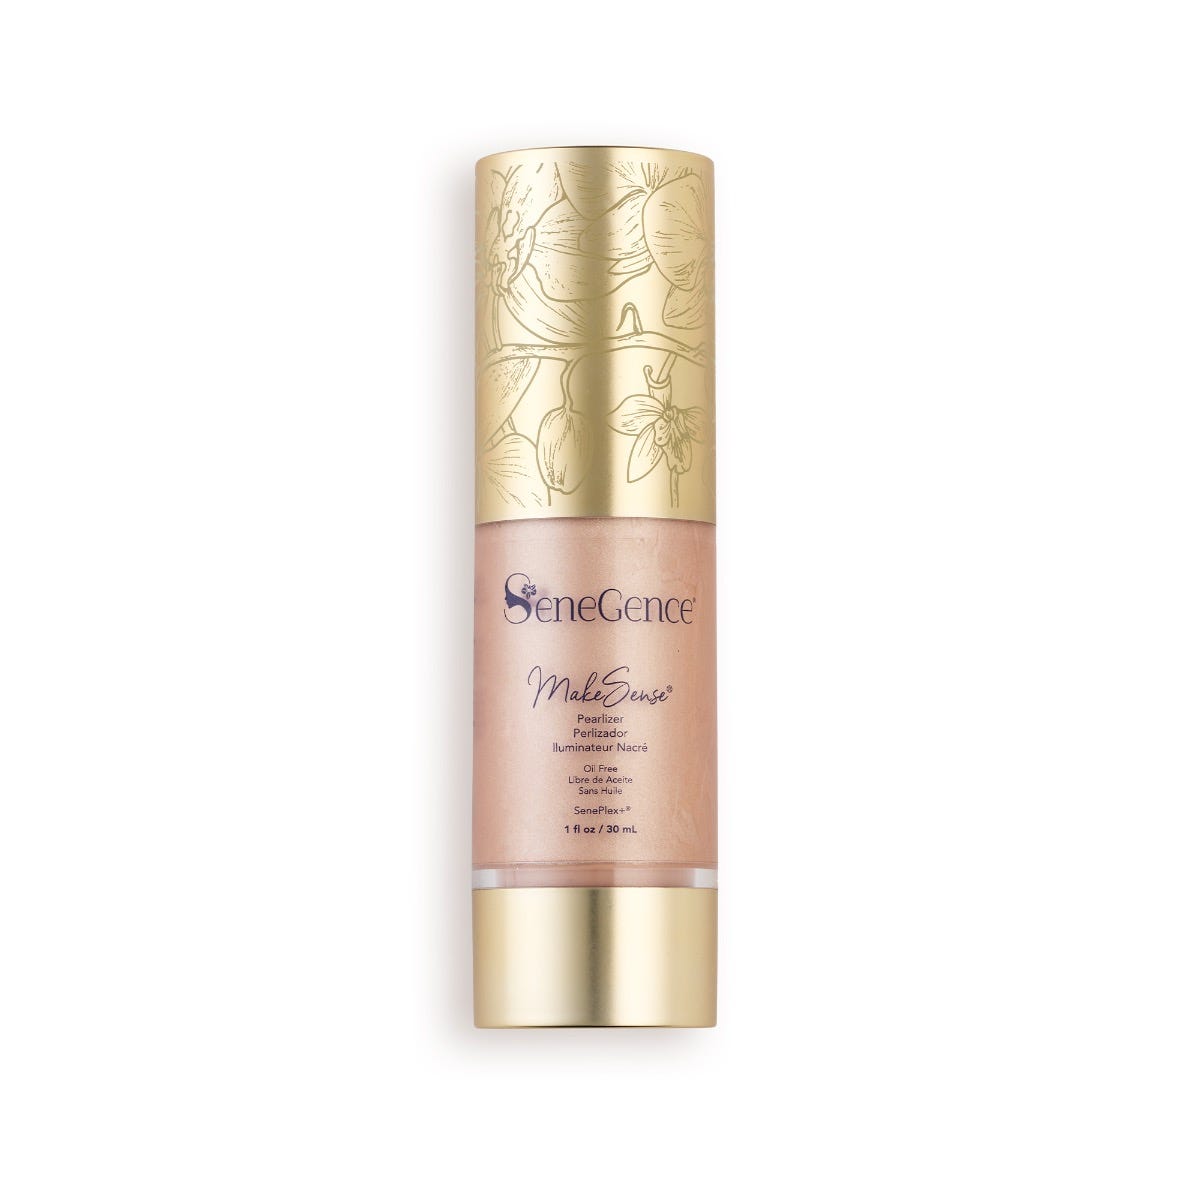
MakeSense Pearlizer does two different things, and mixing them up is why highlight sometimes reads as shine.
Tapped on the high points, it builds structure: cheekbone, brow bone, the bridge of the nose. Stirred into MakeSense Foundation before the base goes on, it spreads a low, even radiance across the whole face.
Pick one. Light that is everywhere and light that is somewhere are not the same look.
how to use it
Once BlushSense is balanced, tap Pearlizer over selected high points for structure. For broader radiance, mix a restrained amount into MakeSense Foundation before base application rather than adding it to a finished complexion. Check the result in camera flash and in natural light so reflection supports the brief instead of emphasizing texture.
the science
MakeSense Pearlizer is a liquid highlighter built on responsibly sourced Mica. Mica raises surface reflection: concentrated high-point placement changes apparent dimension, while pre-mixing into foundation distributes reflection over a wider field. Two methods, two optical results, so the choice follows the structure you want.
Keep cream before finishing powder
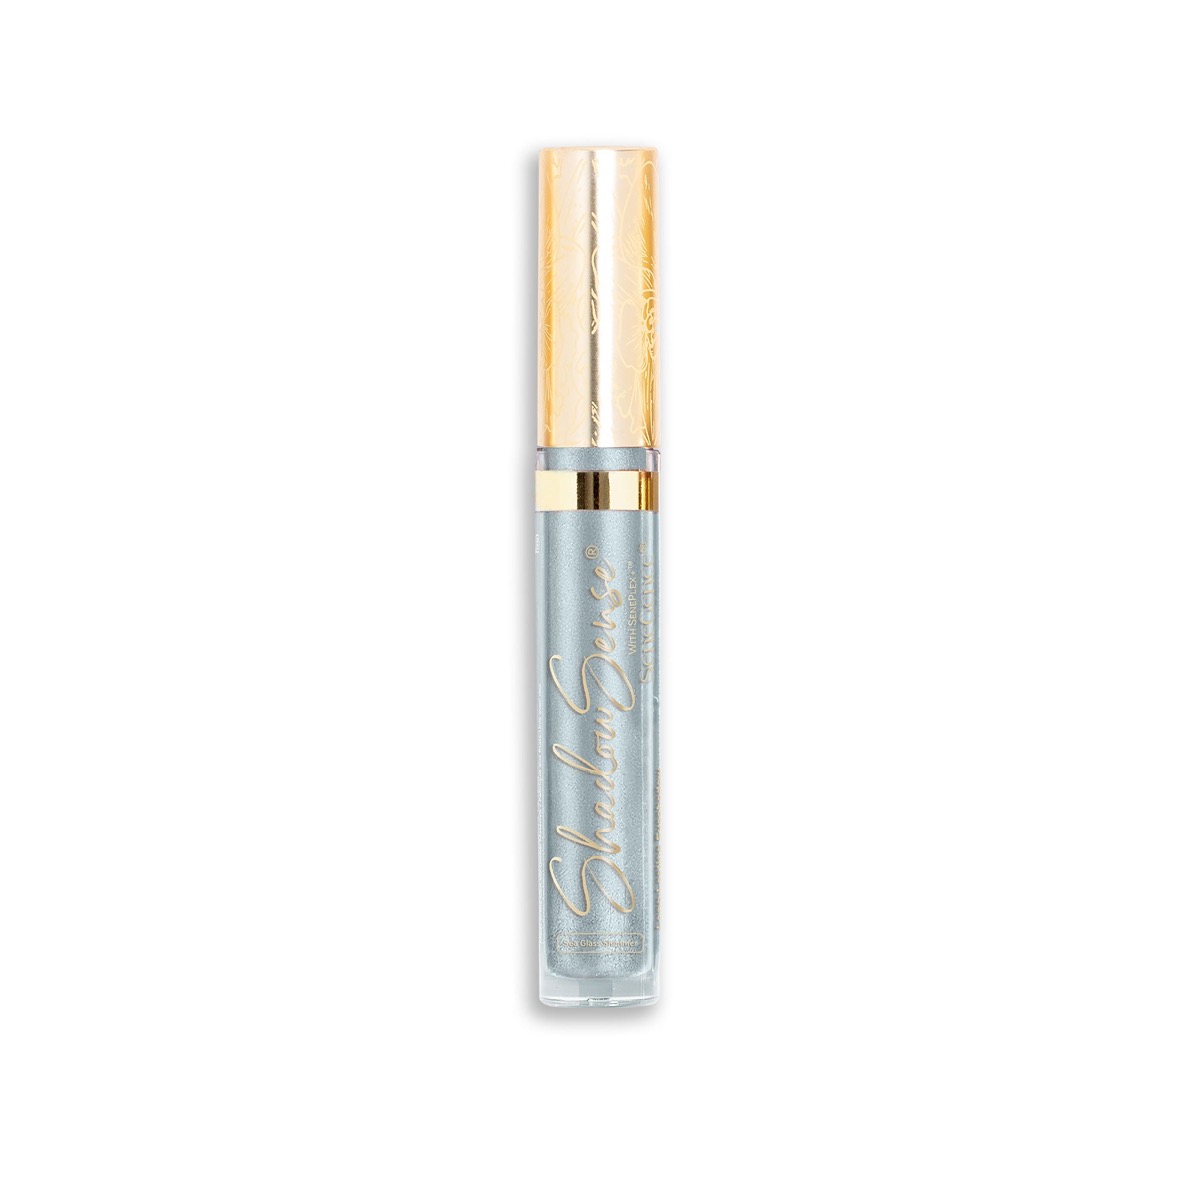
Powder is a full stop. Everything creamy has to be finished before you write it.
Complete your MakeSense Foundation and BlushSense order, finish ShadowSense zone by zone, add Pearlizer by the method you chose, then look at texture and symmetry in daylight. Only then does powder go down, and only on the zones that ask for it.
After that, leave the cream alone. Powder does not blend backwards.
how to use it
Complete the Foundation-and-BlushSense order, ShadowSense by eye zone, and Pearlizer by the chosen method. Check texture and symmetry in natural light, then powder only where needed. Do not disturb cream once powder is down. Explore the products in this look: BlushSense Cream Blush and its current official page, ShadowSense Eyeshadow and its current official page, and MakeSense Pearlizer and its current official page. Continue by building the LipSense kit.
the science
Powder raises surface friction, so a cream product applied afterwards catches, skips or sits unevenly. Finishing the flexible textures first protects their working window. Selective powder can then absorb shine or set the zones you choose without interrupting pigment placement anywhere else.